Implementing Brand Indicators for Message Identification (BIMI) isn’t quite as simple as uploading a new favicon for your website. In order to guarantee that you are BIMI-ready, your organization needs to go through a few steps first.
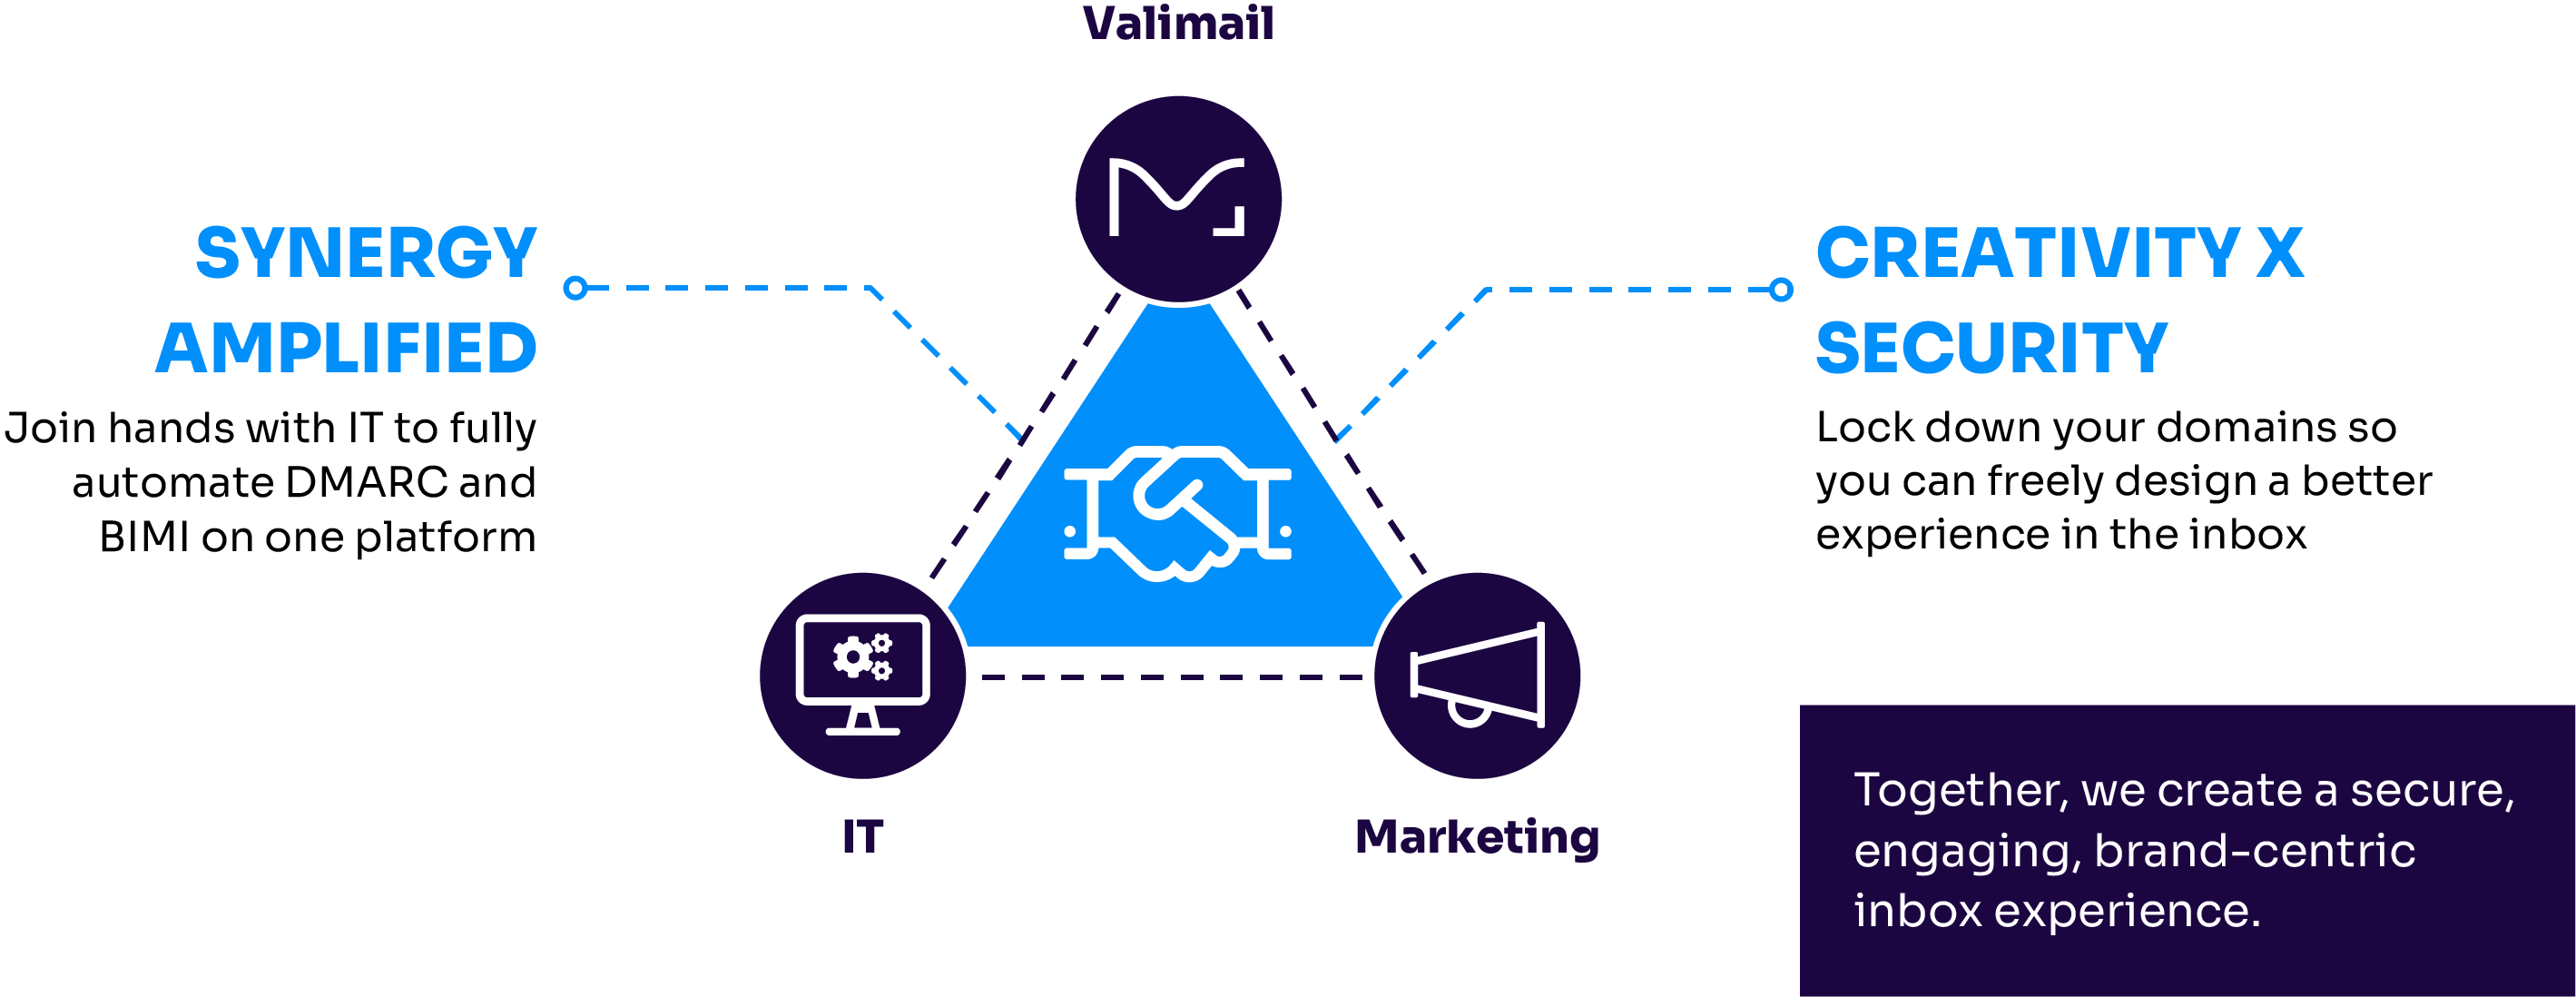
We won’t beat around the bush—it can be a bit of a headache. That’s why we built Valimail Amplify, a tool to automate your BIMI records across brand entities, domains, and logos.
However, regardless of your tools or implementation process, you’ll need to get your ducks in a row to be ready for BIMI. Below, we’ll walk you through everything you need to do.
What is BIMI?
Brand Indicators for Message Identification, otherwise known as BIMI, is an email authentication standard that enables senders to get their logo in the email inbox.
BIMI acts as a digital stamp of authenticity, allowing for brand recognition, trust, and awareness. With BIMI, you can make your branded emails look like the image on the right, versus the anonymized one on the left.

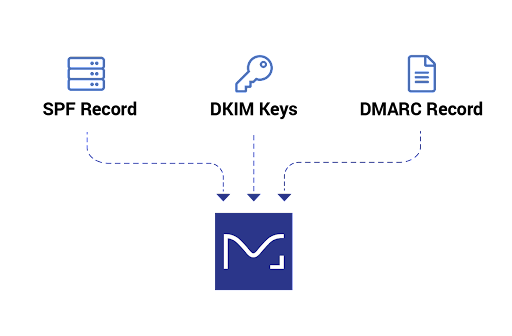
While this might seem like it would be a complicated process, it’s pretty straightforward. When you implement the right email authentication, like SPF, DKIM, and DMARC, you prove that you own the domain that’s sending the mail.
If you can prove that, you can put an authenticated logo alongside your verified email to prove that it’s from the correct domain, rather than from a bad actor.
This all sounds great, but how do you get it? BIMI is becoming increasingly more popular, so here’s what you need to get your domain ready.
What you need to be BIMI-ready
Taken directly from the AuthIndicators Working Group’s website, you need the following to get ready for BIMI:
- Authenticate all of your emails with SPF, DKIM, and DMARC
- Ensure domain alignment (the domain used by SPF and DKIM is the same as the one used by DMARC)
- Ensure your DMARC policy is at enforcement
- This means either “p=quarantine” or “p=reject”
- No sp=none and no pct<100
- Publis a BIMI record for your domain in DNS
- Where required, obtain a Verified Mark Certificate (VMC) certifying that the logo is yours
The steps themselves are simple, but the process of getting to DMARC enforcement can be lengthy and tedious.
But it’s worth it, not only to earn the marketing benefits that can be achieved but also to protect your organization with DMARC enforcement.
Organizations at DMARC enforcement have seen an average of 10% increase in their deliverability and open rates, while at the same time, the rate at which their domains are spoofed (impersonated) by phishers actually declines.
With the addition of BIMI, there’s a potential for another 10% boost in engagement. Security and increased deliverability and engagement. What’s not to like?
SPF, DKIM, and DMARC
First, you need to get your SPF, DKIM, and DMARC set up:
- Sender Policy Framework (SPF) is the standard that launched domain-based email authentication, letting domain owners publish a list of approved IP addresses. If a mail server with an IP address not on the approved list tries to send an email using that domain, it won’t pass SPF authentication.
- DomainKeys Identified Mail (DKIM) improves upon SPF’s protocols by using public key cryptography to authenticate individual email messages.
- Both of these standards have limitations, however. This is where Domain-based Message Authentication, Reporting, and Conformance (DMARC) comes in. In order to be fully protected your organization needs to be at a policy of quarantine or reject (and at pct=100).
Let’s dive into each of these standards in more detail.

SPF: the first email authentication standard
In its most basic usage, SPF enables you to create an allowlist of IP addresses that can send email using your domain or to specify various other rules specifying which services can send as you.
When an email server receives an incoming message, it examines the domain shown in the message’s Return-Path. Using DNS, it checks to see if there’s an SPF record for that domain.
If there is a record, the receiving server then checks the IP address of the mail server that sent the message to figure out if it matches the SPF rules. If there’s a match, the email passes the test and (in most cases) is delivered to the user’s inbox. If not, the receiving server will typically reject the message or add a flag to it and mark it as suspicious.
Check your SPF record status using our domain checker.
SPF was the first critical standard of email authentication, but it wasn’t made for the modern era of email and had to be built upon.
That’s where DKIM comes in.
DKIM: adding a signature for increased protection
DKIM builds on the limitations of SPF as a security protocol and is a stronger method of authentication. It typically survives forwarding (so messages that have been forwarded through a mailing list, for instance, can still authenticate properly), and you can be assured that the message has not been tampered with in transit.
DKIM uses public/private key cryptography to sign email messages so that receivers can verify that the email came from the domain that the DKIM key is associated with. To add a DKIM signature, a domain owner creates a cryptographic public-private key pair and places the public key in a DNS record at a location specified by the message’s DKIM header, which includes a domain name and a “selector.”
The server sending an email digitally signs the message using the private key (that only the sender has access to). Receiving servers use DNS to retrieve the public key found at the indicated domain and selector, then use that key to decrypt the signature and validate that there’s a match – indicating the message hasn’t been tampered with and can continue on its journey.
But DKIM wasn’t built to protect against fraud or spoofing.
Enter: DMARC.
DMARC: raising the bar for email security
Neither SPF nor DKIM authenticate the sender using the “From:” field that users see. The policy specified in a DMARC record will require that the DKIM key’s domain (or the domain shown in the Return-Path verified by SPF) matches the domain shown in the “From:” address.
This ensures that the visible From: address contains an authenticated domain, and it is also known as “alignment.” DMARC is the strongest email authentication protocol to date, and it’s becoming more widely adopted every day.
How does DMARC work?
When an email is received for delivery:
- The receiver checks the authentication of the message using both SPF and DKIM
- The receiver then validates DMARC alignment for the message:
- If SPF authentication passed, and the domain checked matches the domain in the visible From, then DMARC passes and/or
- If DKIM authentication passed, and the domain checked matches the domain in the visible From, then DMARC passes
- Otherwise, DMARC fails
- If the email fails DMARC, receivers take action based on the policy specified in the domain owner’s DMARC record:
- Do nothing (p=none)
- Send it to spam (p=quarantine)
- Reject/delete it (p=reject)

At Valimail, we believe that DMARC visibility should be available to everyone at no cost. Get our free visibility tool, DMARC Monitor, today to get to DMARC enforcement so that you can be ready for BIMI.
Bringing it all together for BIMI
In order to implement and reap the benefits of BIMI, an organization needs to have DMARC configured and set to an enforcement policy, meaning email recipients will reject (block from delivery) or quarantine (move to a spam folder) any messages from senders who are not authorized to send on your behalf.
(You will also need a BIMI logo in the correct SVG format, and for some mailbox providers, like Gmail, you’ll also need a VMC to authenticate the logo file.)
DMARC is the strictest authentication protocol, and it is an ongoing process to achieve and then maintain enforcement. There are implementation challenges that prevent a lot of organizations from getting to enforcement – the most crippling of which is a lack of visibility into the sending activity on an organization’s domain.
Step-by-step BIMI checklist
Let’s break everything down into a nice BIMI checklist:
- Strengthen Email Authentication: If you haven’t already, implement SPF, DKIM, and DMARC for your email domains. Ensure that these authentication mechanisms are correctly configured and are in alignment with your email-sending practices.
- Monitor DMARC Reports: Set up DMARC monitoring and reporting to gain insights into your email authentication status. Regularly review DMARC reports to identify potential issues and unauthorized email sources.
- Select a Verified Mark Certificate (VMC) Provider: BIMI requires a Verified Mark Certificate (VMC) to authenticate your logo. Choose a VMC provider that is recognized and supported by email clients. Ensure that the provider can handle the issuance and management of VMCs for your domains.
- Design and Prepare Your Logo: Create a high-quality logo that represents your brand and is suitable for display in email clients. Follow the technical specifications and guidelines provided by the VMC provider to ensure the logo is properly formatted and compatible.
- Publish BIMI DNS Records: Publish the necessary BIMI DNS records, including the BIMI Selector and BIMI Location records, as specified by your VMC provider. These records guide email clients on how to retrieve and display your logo.
- Test BIMI Implementation: Before fully deploying BIMI, conduct thorough testing to ensure that your logo is properly displayed in various email clients that support BIMI. Test different email scenarios, including authenticated and unauthenticated emails.
- Implement BIMI: Go live with your full deployment of BIMI.
Learn more about BIMI
Whether you work in marketing or IT, Valimail can help you implement BIMI.

Along with tools and products that can help you implement BIMI, we have content that can help during this process.
For more details on BIMI, its benefits, and step-by-step guides on how to implement it:


